I have been through so many iterations and permutations of bottom brackets and cranksets I have lost count…I think I may have finally solved my problems with Campagnolo and BBright. Finally.
Experience is what you get when you don’t get what you wanted in the first place, right ?
I could not live with the Rotor crankset. Well, more accurately, I could not live with the font shifting of the Rotor Rings. Absolutely horrible – months of dropped chains, constant adjustments, the awful noise of chain rubbing against the front derailleur and worse yet, the trepidation of approaching a climb not knowing if I was going to be able to shift to my small ring or be stuck at the bottom with greasy hands wrestling with my chain as my riding companions soldiered onwards and upwards.
Luckily for me, Campagnolo had a (albeit unofficially supported ) solution – the Over-Torque crankset. Why unofficially ? Good question, there is no reason IMHO….but Campagnolo says no.
But if Over-Torque supports BB386 (46mm x 86mm) there is no reason why the 79mm shell of BBright can’t be accommodated…perhaps they can’t be bothered by taking one spacer out of the bag ? (in their defence, the centre BB sleeve from a PF30 BB is not long enough to bridge the 79mm width of BBright – but it’s only necessary for EPS electronic groupset owners – what you could do is get a BB386 BB sleeve and trim it down 3.5mm on either end, but DON’T buy a BB386 BB instead of a PF30 BB, you won’t get the appropriate spacer(s) !)
A Press-Fit 30 (or PF30) bottom bracket is a 46mm ID shell by 68mm wide that houses a set of bearings in removable cups that accommodate a 30mm crankset spindle. It’s a completely symmetrical design whereby the centre of the shell to the outer faces of the drive and non-drive side are an equal 34mm. BBright is essentially a PF30 bottom bracket that is 11mm wider on the non-drive side (NDS) while maintaining the same 34mm centre to shell face dimensions of the drive side (DS)
So to adapt a Over-Torque crankset for Cervelo’s BBright, you simply use the Campagnolo PF30 bottom bracket and only one of the two included spacers – the spacer goes on the DS, and the adjustable lock-ring on the NDS. Presto.
Only I given my “experience” with my Cervelo and BBright, I wanted it (nearly) perfect, so here’s what I did:
First step after removing the Rotor Crankset and Chris King PF30 BB, I reamed the shell with the Park Tool #791 reamer to the exact dimensions of 45.94mm. While I don’t have the recommended Park HTR-1B tool and 750.2 Cone, a local machine shop made a bushing for the #791 reamer to fit my Cyclus tool (from the Czech Republic, very well made) as well as a custom cone basically identical to the #750.2 from Park.
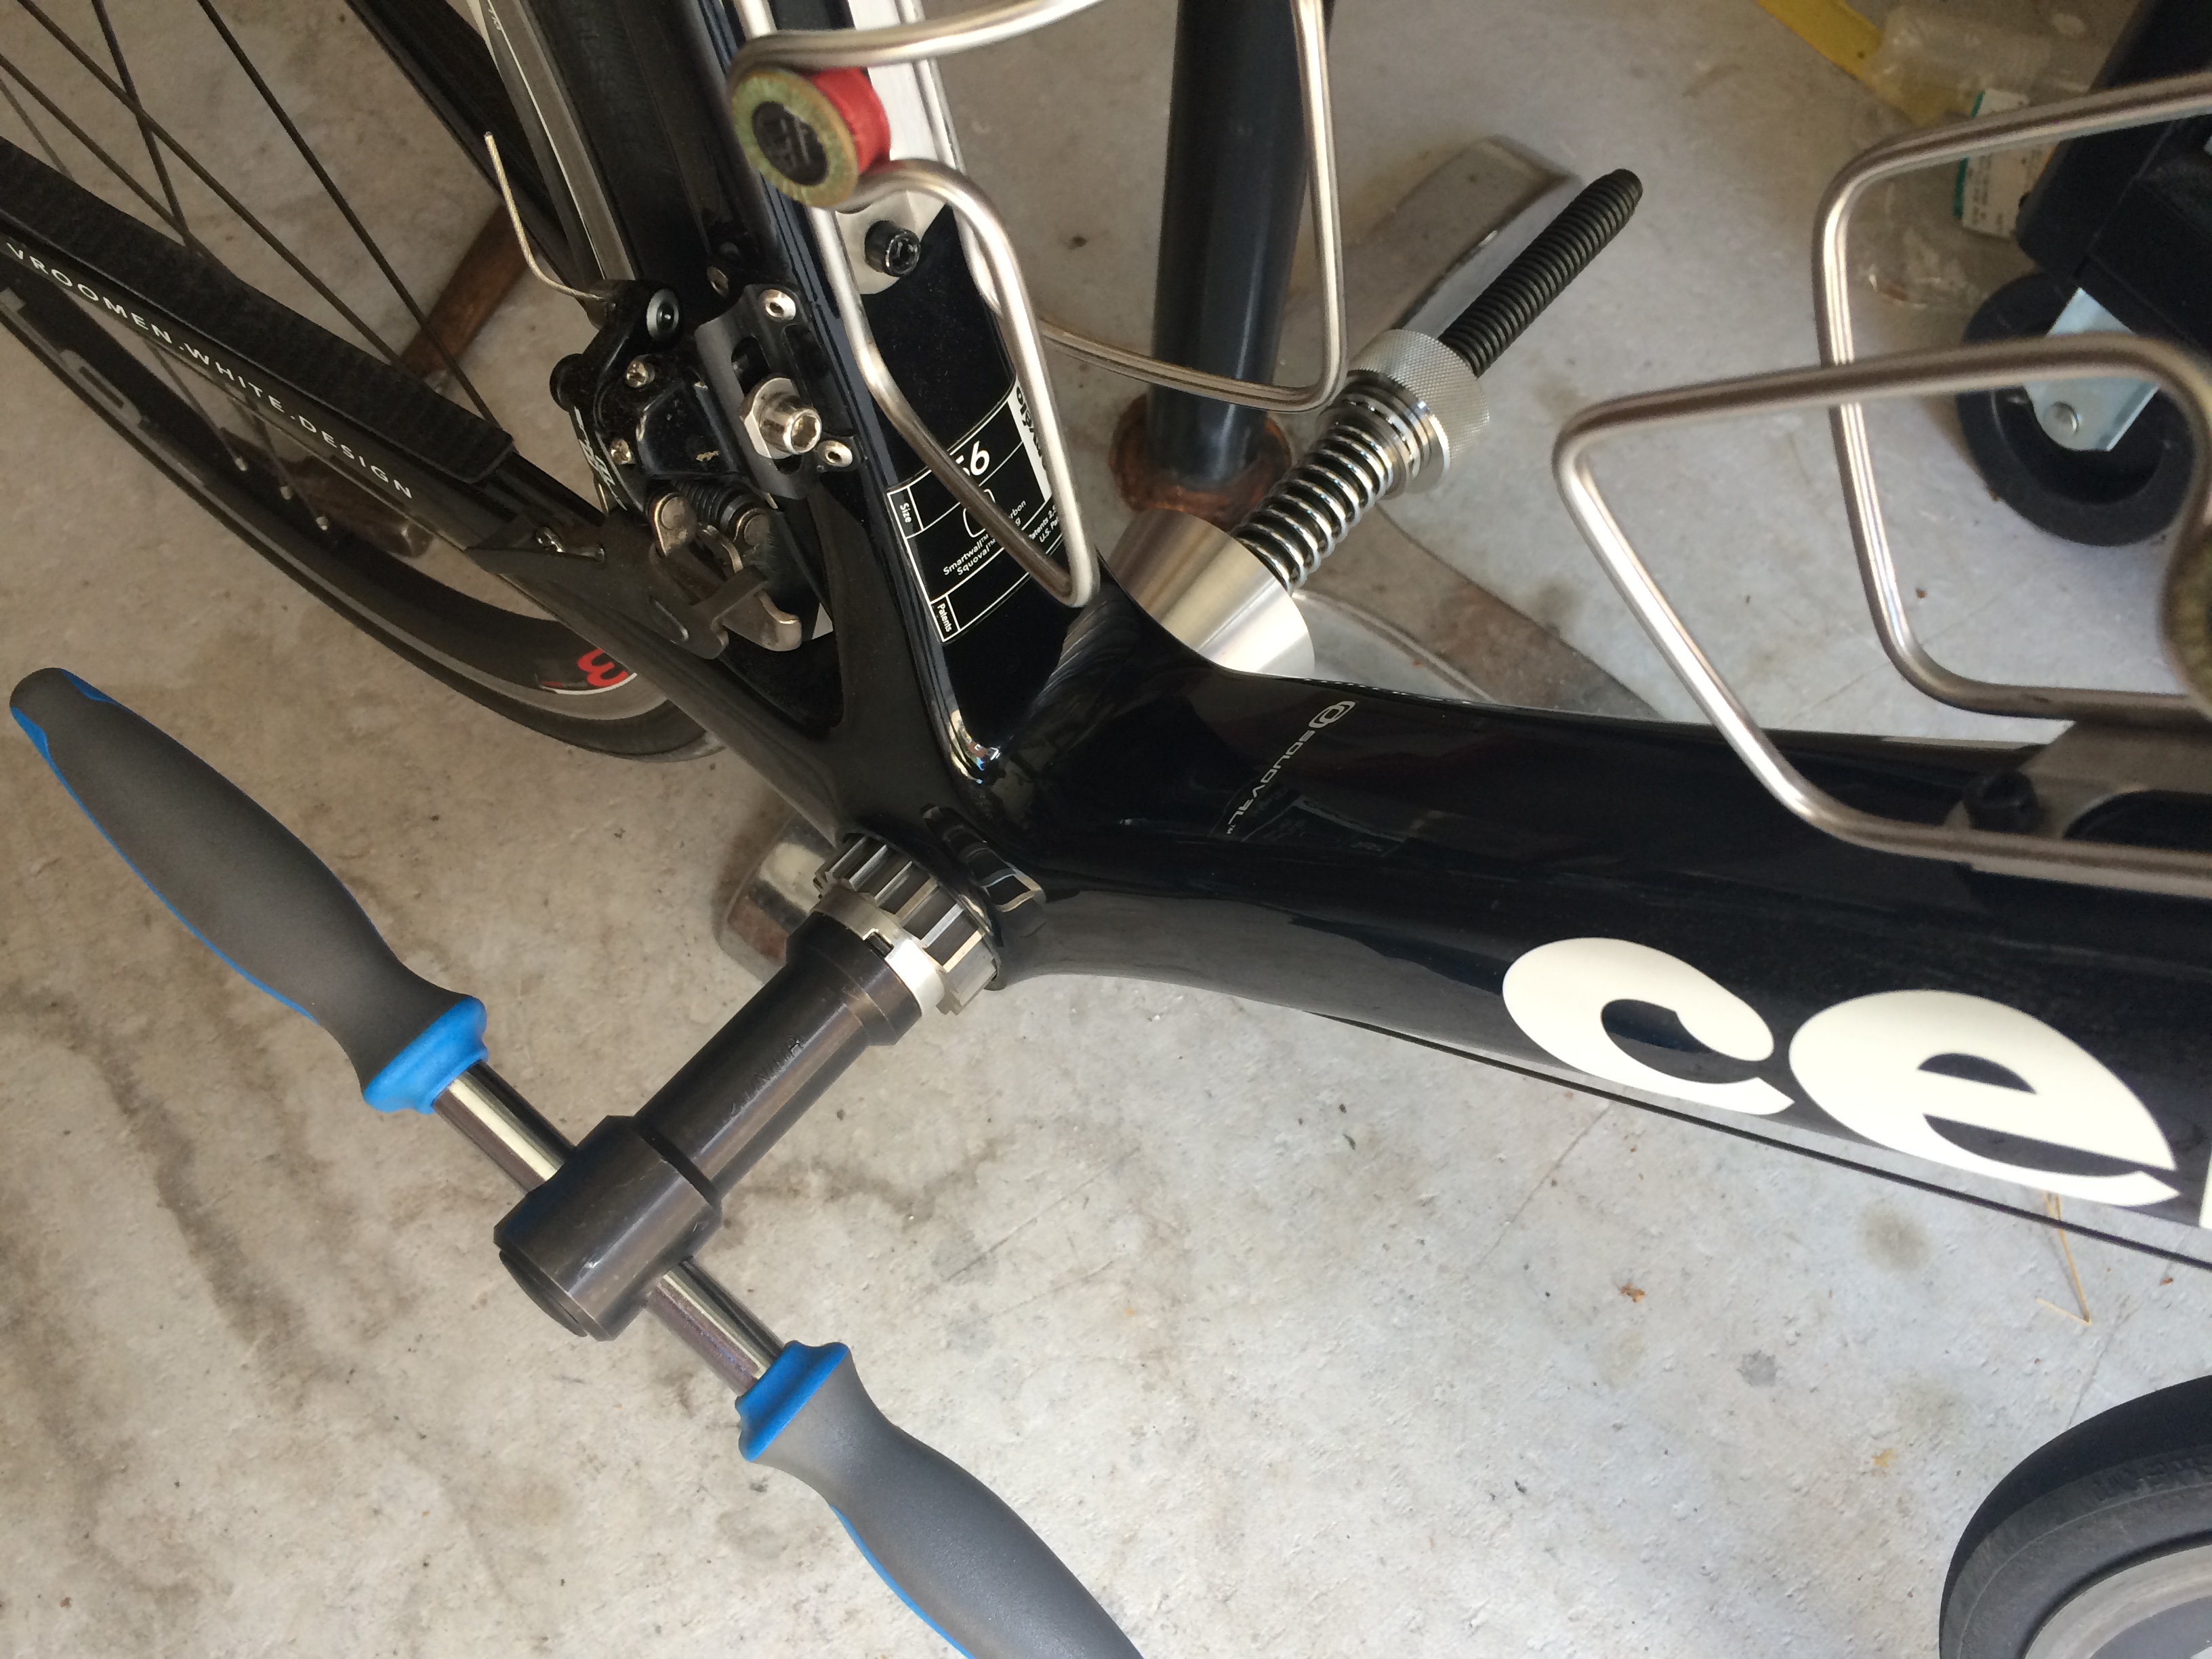
Reaming the shell was dead-easy and left me with a nice clean carbon shell to press the new Campagnolo bottom bracket cups in. I did a test fit first before applying the Loctite 609 for the final press.
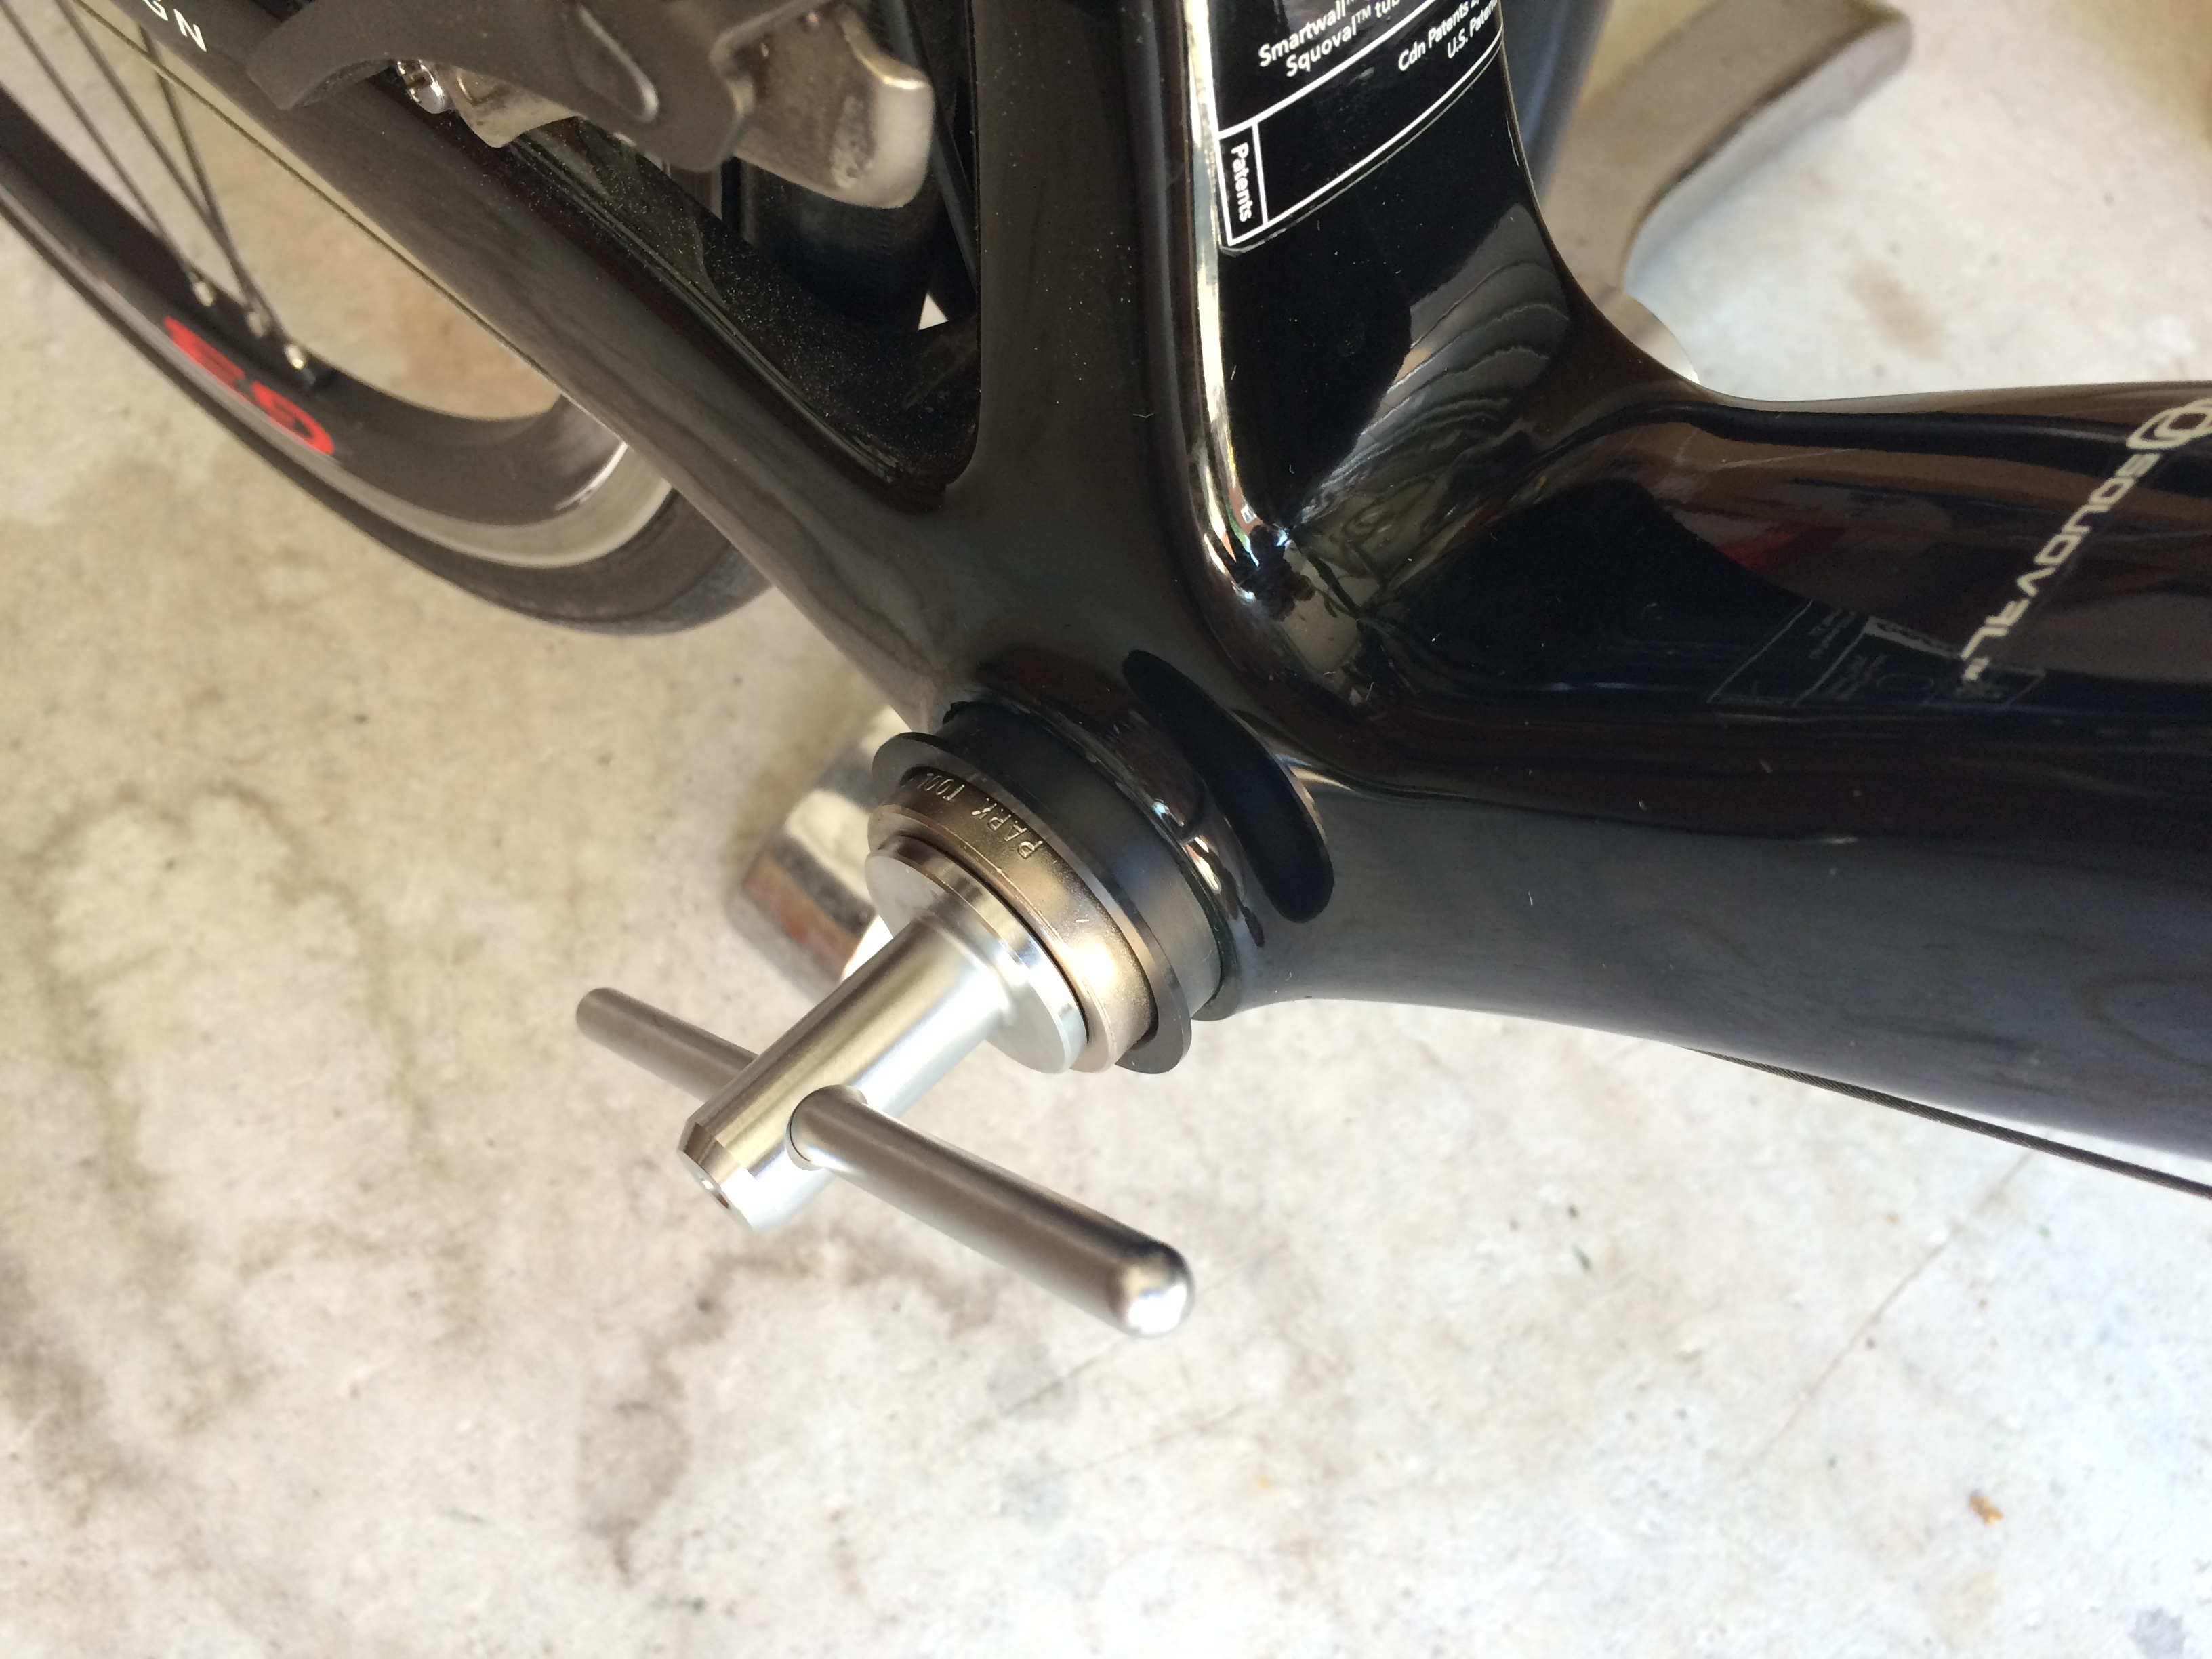
I used the Park #668 PF30/BB30 bushings on my Campagnolo UT-BB140 tool designed for the Campagnolo OS-Fit BB cups – works like a charm, and easier to use than my Park HHP-2.
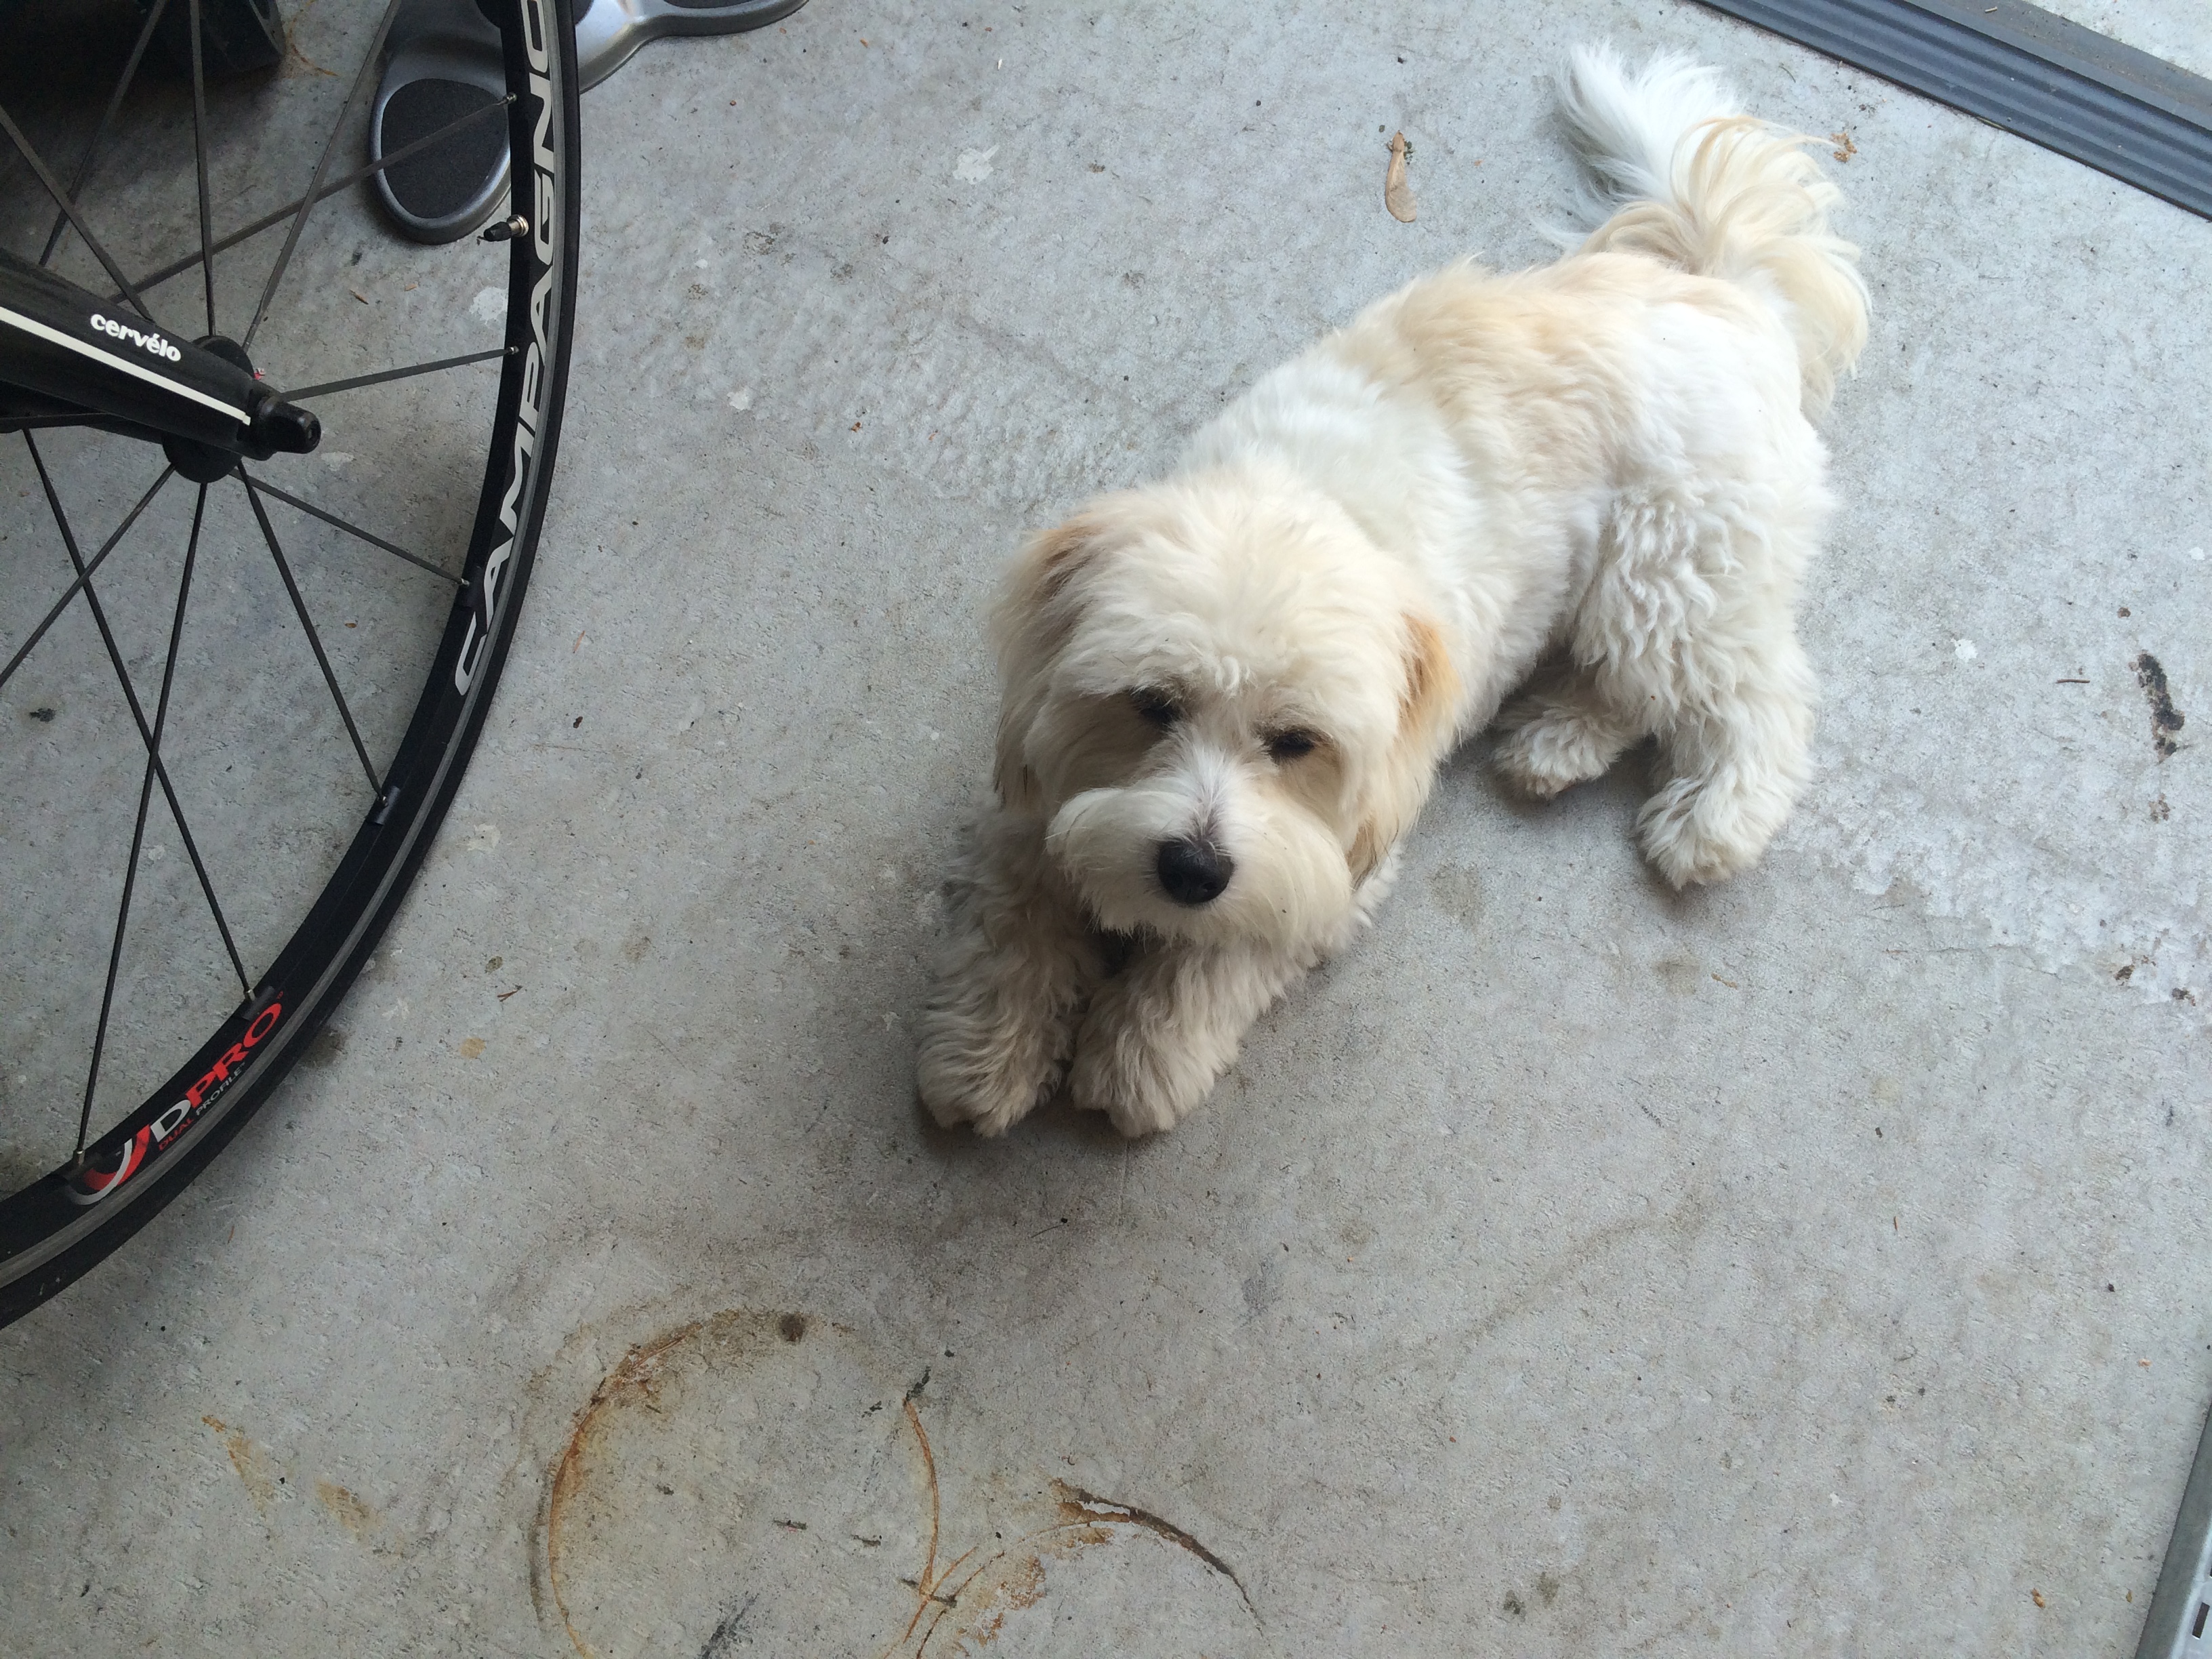
My trusty dog Tullio watched over the whole proceedings in the garage. Actually, his name is Comet….Tullio would have been cool, though…..
After test fitting, I applied the Loctite 7649 Primer to the cups and inside the shell and allowed to dry, followed by a liberal application of Loctite 609 on the cups, then pressed in place. Unlike previous attempts NO nasty popping and creaking sounds ensued….they went in with sufficient resistance but smoothly.
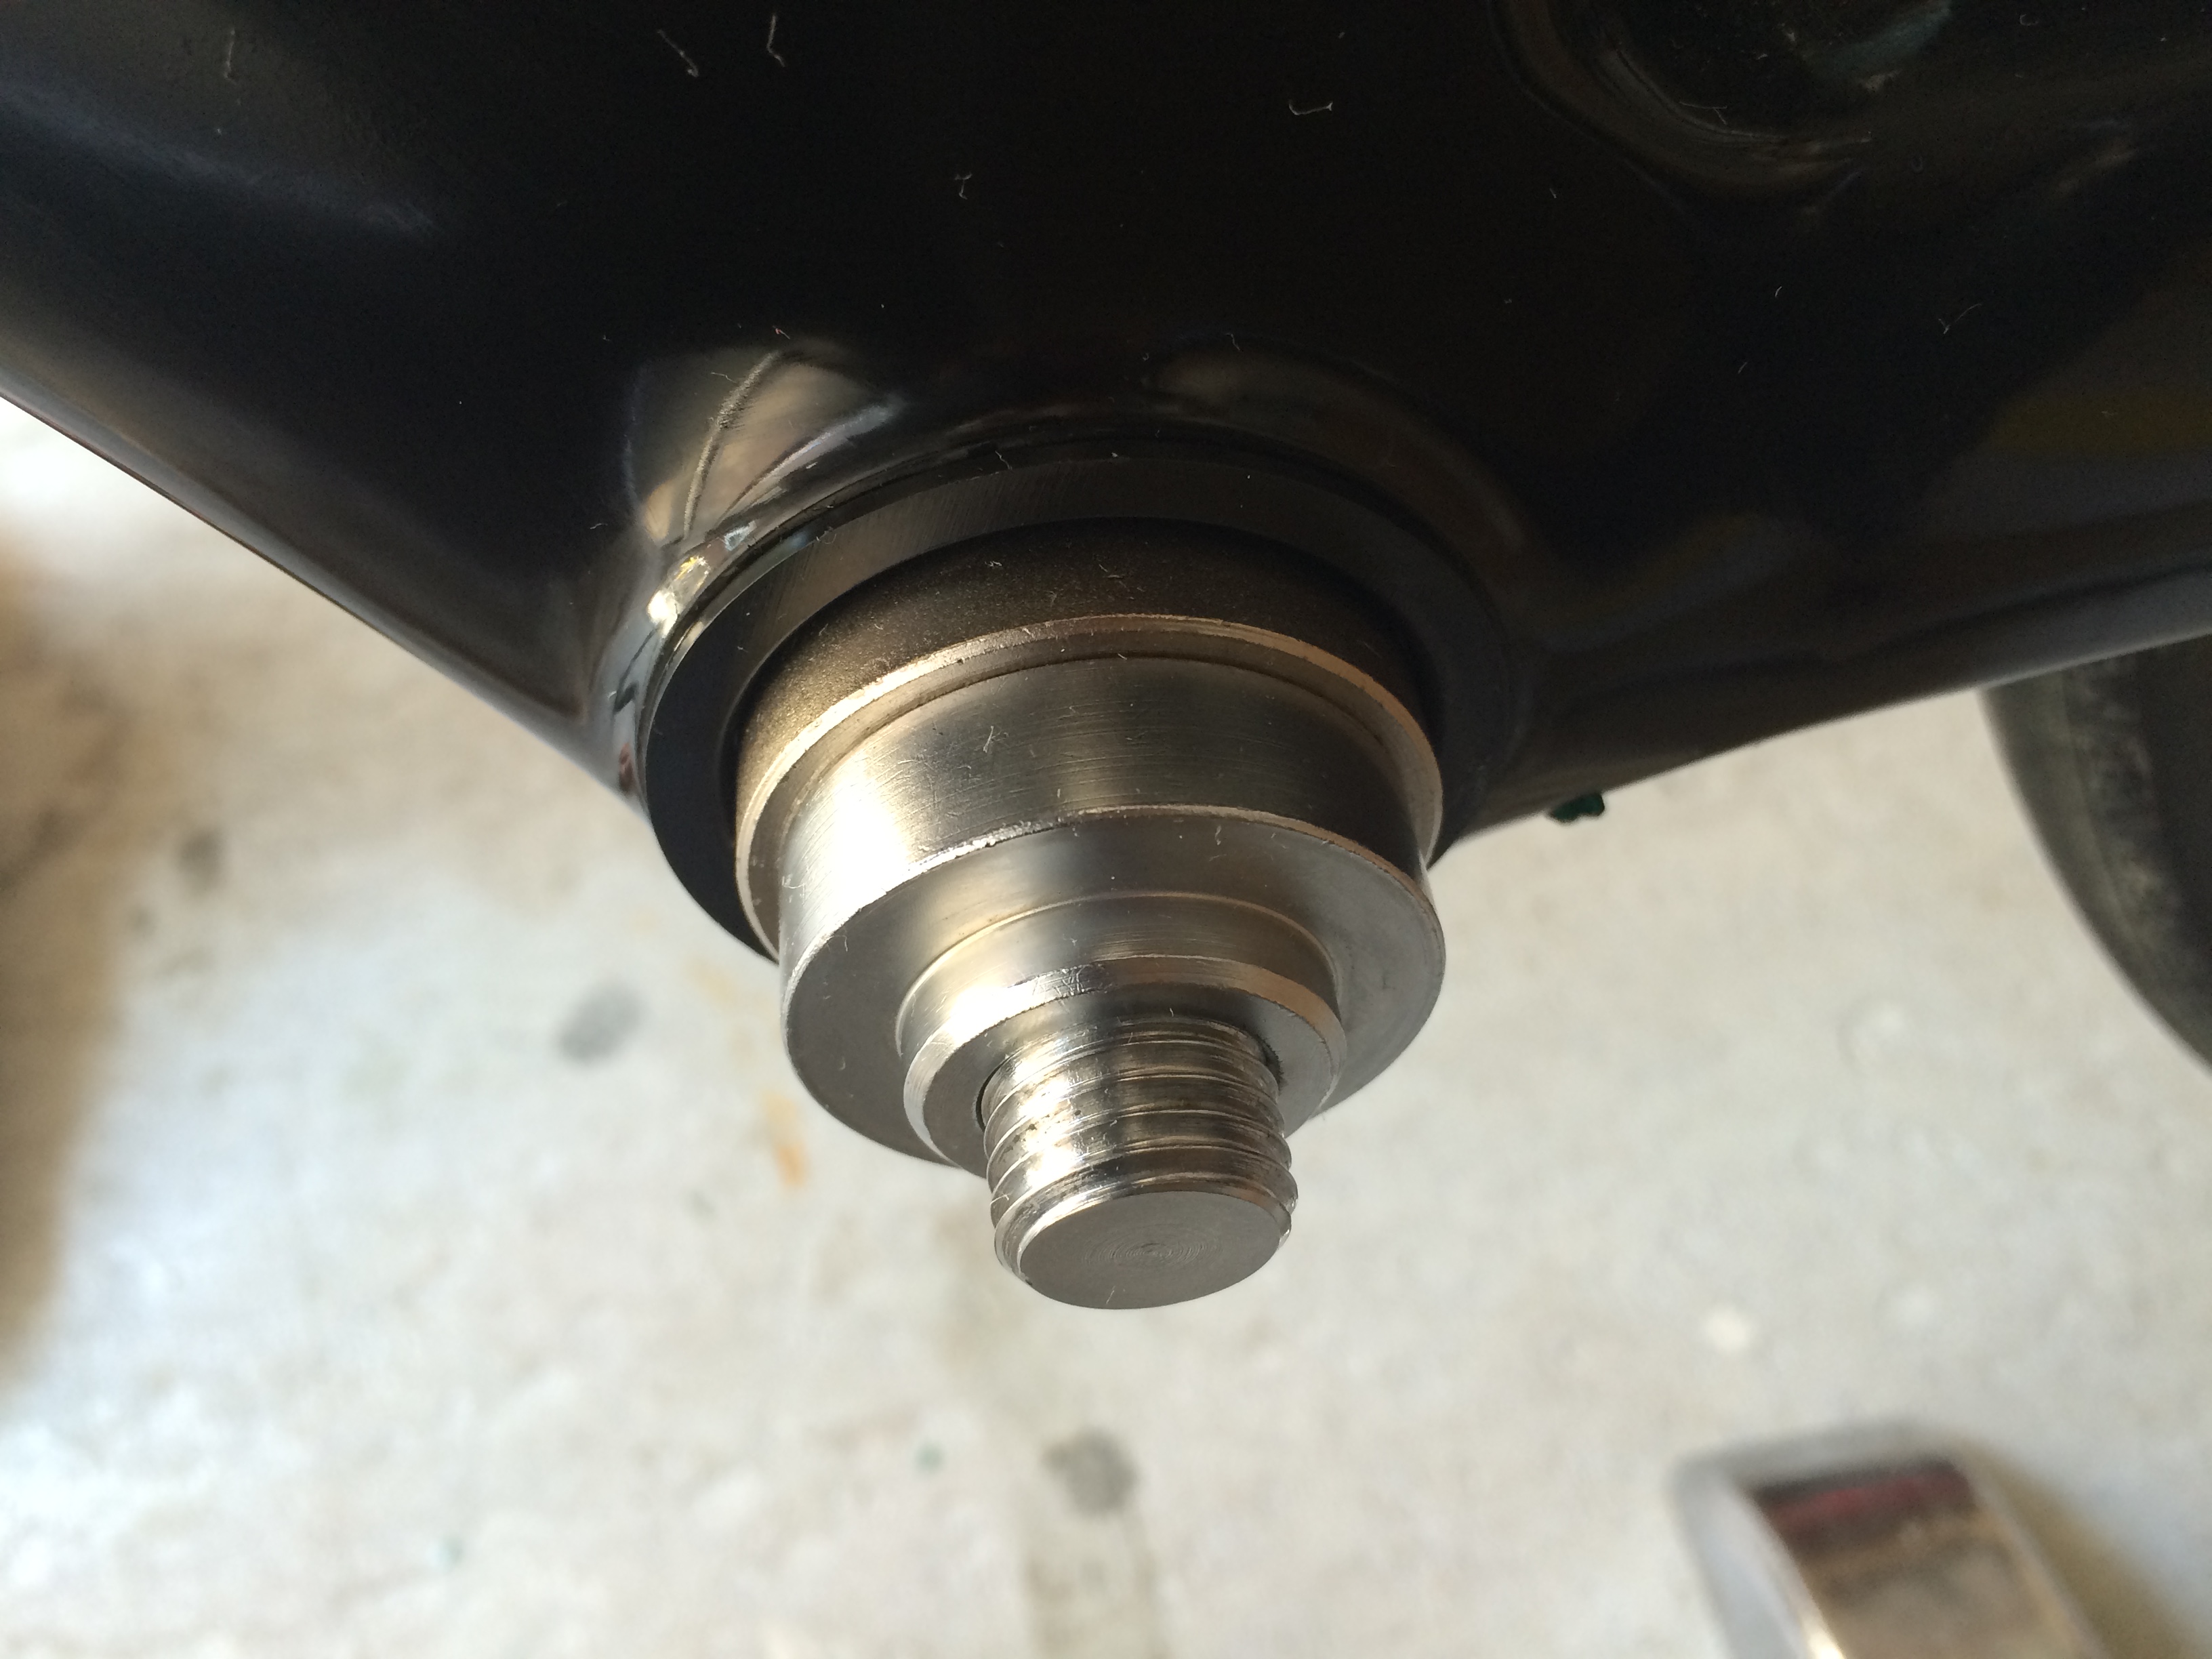
I left the UT-BB140 in place after backing it off ever so slightly overnight before installing the Crankset. Although theoretically the cure time for the Loctite in in the range of ~ 30 minutes, I had other matters to attend to that evening, so I installed the crank the next day. In hindsight, I wish I had faced the shell as well, but not having invested in the Park #690-XL facer I took the chance the shell was as parallel as specs and factory QC tolerances allowed, alas..it was not the case, but close enough.
If you are interested in installing your own Over-Torque Crankset – be forewarned – you’ll need to invest in the special tool necessary for installing (and removing) it – the UT-FC220 and it’s companion part UT-FC130 in addition to a 24mm box end wrench, as well as1.5mm, 5mm and 8mm allen wrenches. Campagnolo’s official instructions are here. For Cervelo BBRight owners, use only one spacer (on the DS) and the adjustable spacer on the NDS.
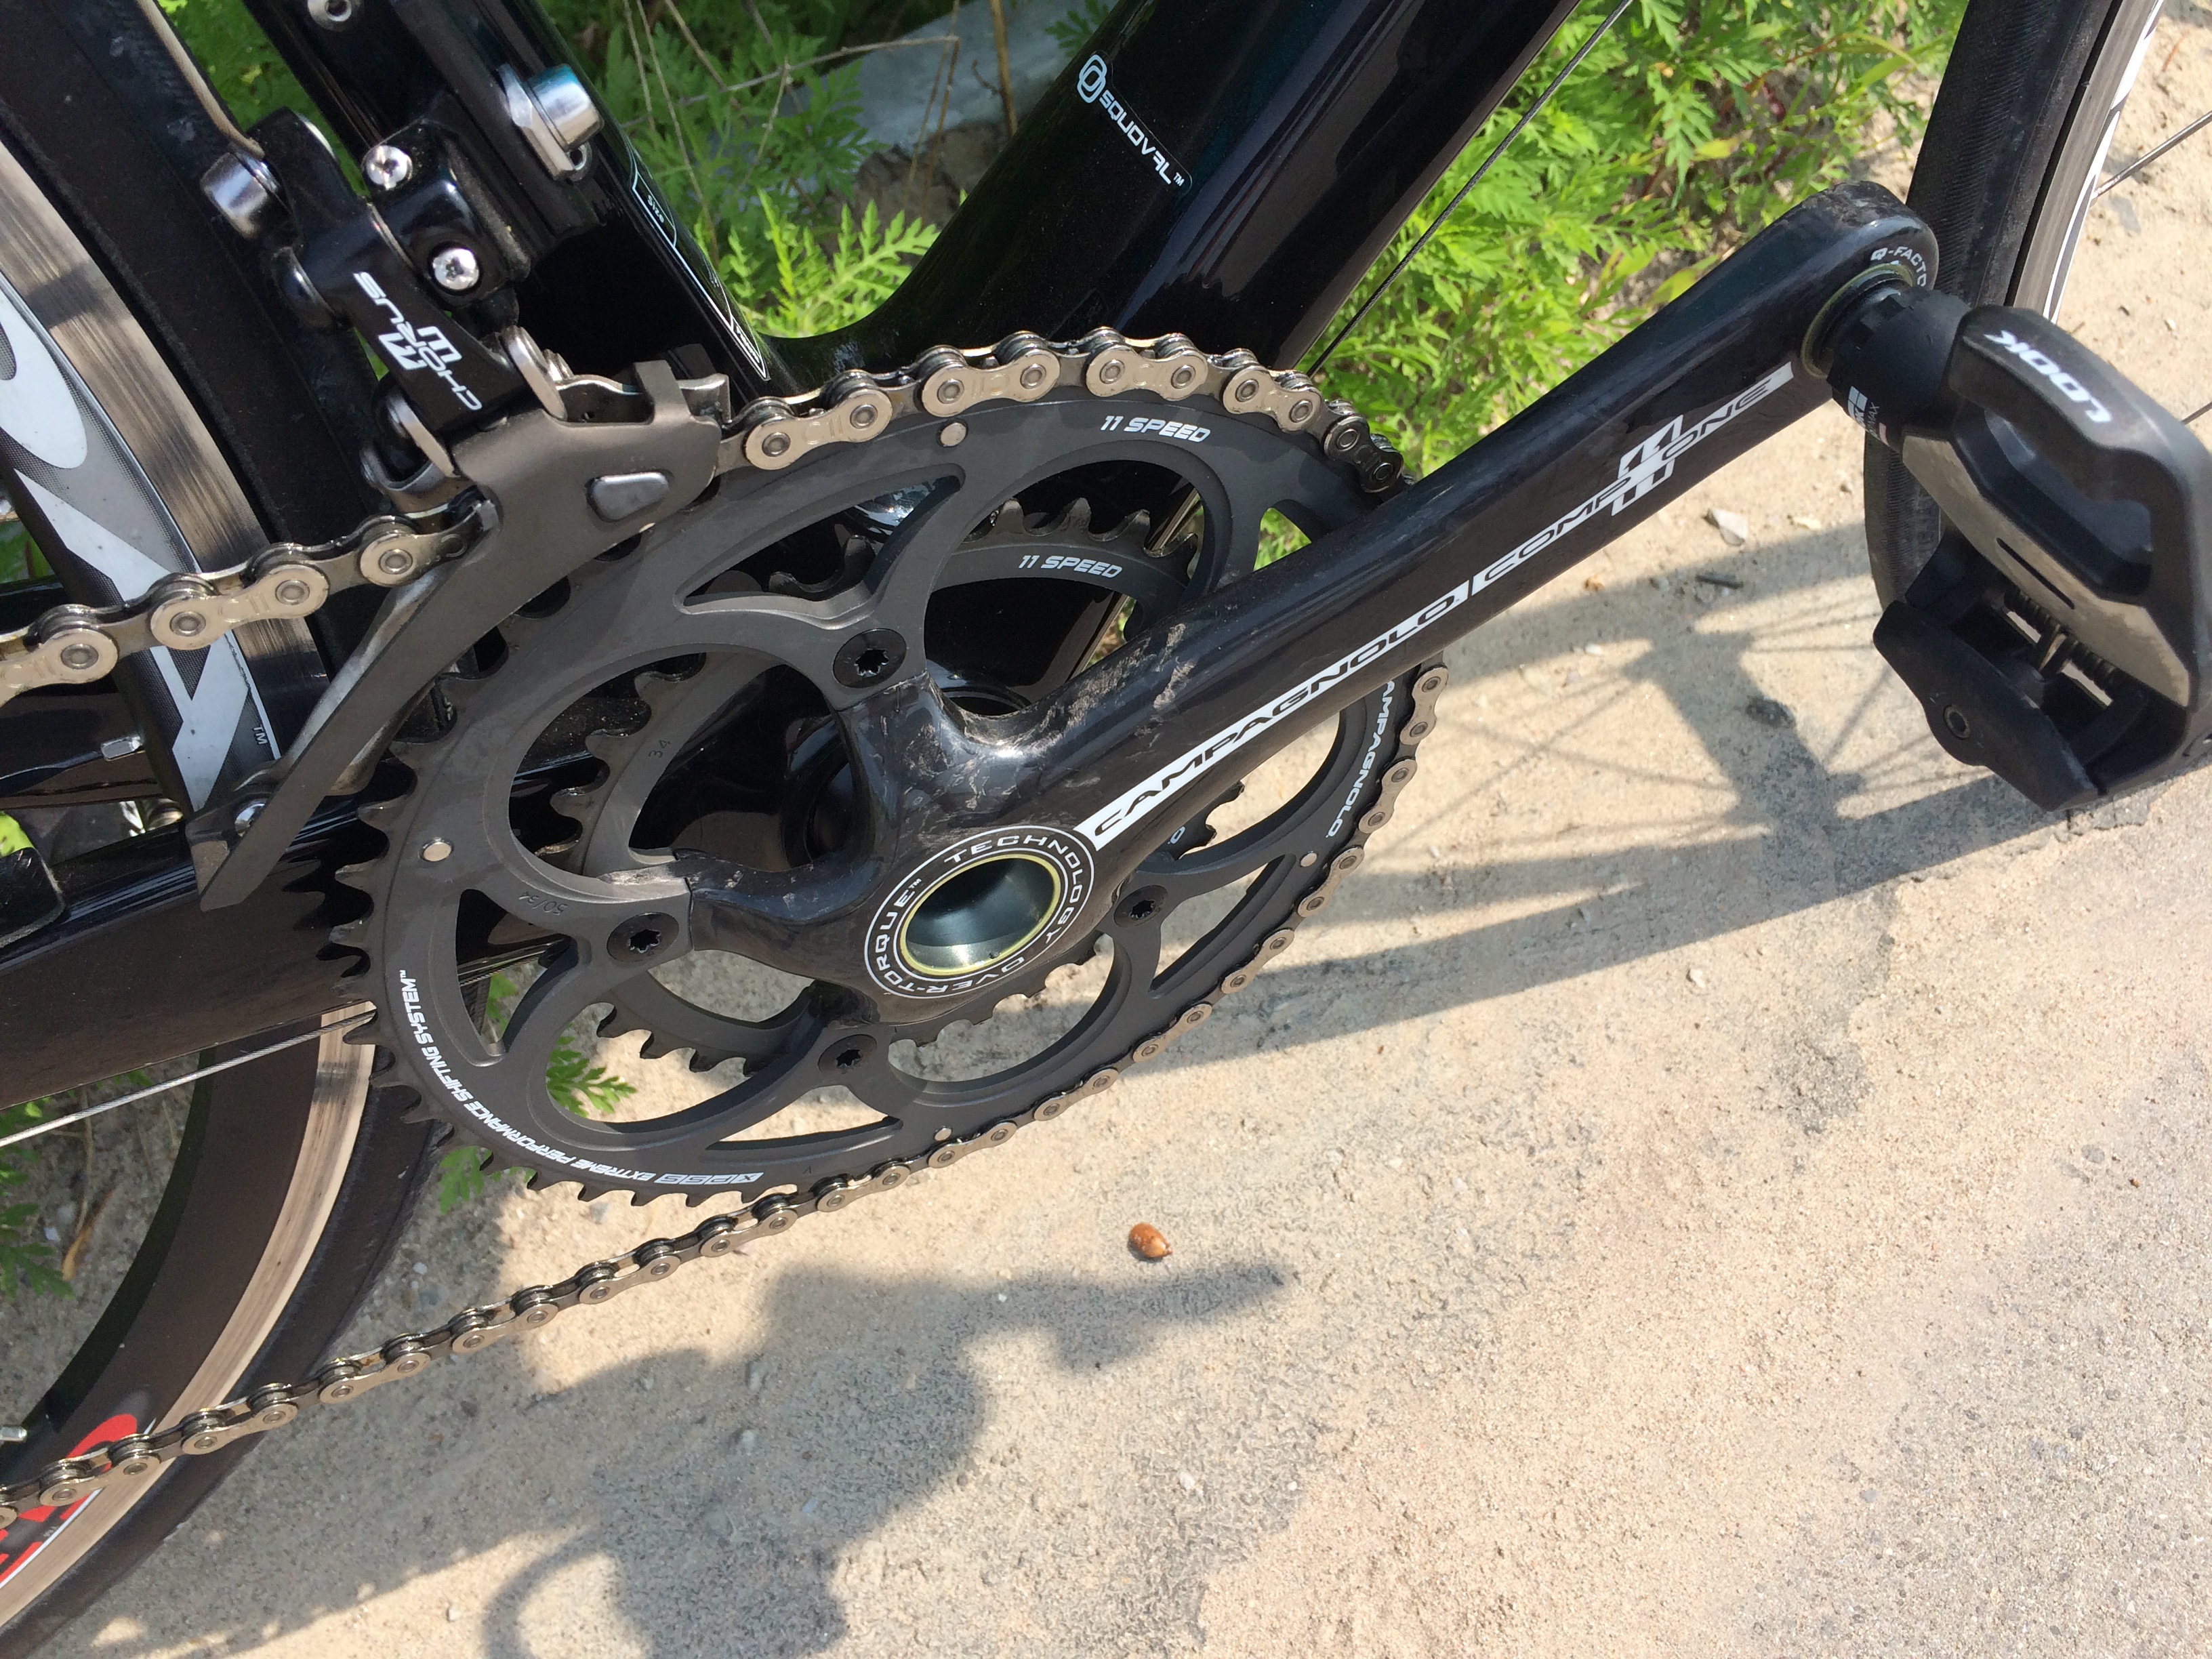
There you have it. New chain and rear cassette installed as well for prudence sake (plus the old chain was coming up to around 8,000 km). Perfect front shifting restored, as good as if not better than my original Chorus Over-Torque compact. Note, you may find it near impossible to lock the adjustable spacer with the 1.5mm allen once it’s in place….the bottom bracket cup makes it very difficult. While mine hasn’t budged in ~ 1000 km, I plan on removing the NDS crankset arm and locking the ring down with some Loctite 242 on the treads at first opportunity or if necessary, whichever comes first.
First ride with the new Crankset….performed flawlessly. I have a nice 172.5mm 110 BCD Rotor 3D+ with 50/34 Rotor Rings and a Chris King PF30 BB if anyone is interested ? I can’t guarantee they will shift all that well, but I’ll make you a great deal…..

So I have the same issue trying to switch my stock FSA crank over to a Campagnolo Crank, how did this (final) solution work out?
So far, brilliantly….one suggestion is to make sure you have a few 0.5 or 1mm shims to make chainline adjustments as necessay. I found I needed to move the drive side 1mm outboard to fine tune the FD. Other than that it’s been rock solid.
Happened upon this post while trying to figure out a similar issue with my Cervelo R5 – I’m about to install (for the second time) a Rotor BB that keeps working its way out of the carbon shell under heavy pedaling forces by 1mm or so on the drive side.
I installed first with Loctite 7649 primer and Loctite 609 but the DS cup kept working its way out. Ordered some Loctite 680 and will try installing again with a spacer to hopefully increase the preload on the bearings themselves to try to keep the BB cup from coming out again.
I had a question – when scraping my bottom bracket clean of existing loctite, I get lots of shavings and nerves. Is there a possibility of scraping away the carbon BB shell itself or damaging it? I don’t want to further enlarge the BB shell and make things even worse.
Thanks in advance!
Yeah, I understand your reservations. Provided your are careful not to “dig” into the shell, the risk is actually minimal. Keep the cutting edge of the blade parallel to the face of the shell – the loctite should come out as shavings or flakes. I can’t stress enough how much better the fit of the cups are when the entire shell is reamed properly, well worth the effort. Read my comments about using 680 and primer, I found it nearly impossible to press the cups using it. Email me any other questions and I’ll be glad to help if I can. BR/wg
You need to look in to the BBINFINITE
ONE SOLID Piece BB. Press in the bbright cervelo. Check out the site. I pressed one in a S3 , no miles on it yet in process of building the bike for a client
Thanks for the tip. I’m very happy with the Campagnolo solution, proper frame prep and retaining compound did the trick. To be frank, I’m never going to buy another bike with a press fit BB solution. The 5% difference in weight and stiffness between Over-Torque 30mm and Ultra-Torque 24mm could only be felt by someone who could hear the sun rise or a butterfly sneeze. Standard BSA/ English for me from now on, thanks…